
[ HOME ] [ MY TEN KNOTS ] [ CATS ] [ CRITTERS ] [ ART ] [ MASK, COSTUME ] [Teach Yourself to Sail] [Article on Spritsails] [ SKERRY BOAT ] [ MY BOATS ][ LENGHTENING THE SPRIT FOR A NEW RED SPRIT SAIL ] [ SAIL RELATED NAUTICAL TERMS ]
Cricket my Skerry gets yet another SPRIT SAIL
NOTE: I have made a small jib to add to the orange sail.
In the ongoing saga of getting the perfect rig for my little Skerry I make another sail to try.
My first sail was a nylon sail made on the sail measurements provided in the plans. It worked quite well for the first while but stretched out quite a lot by the end of the season. I wanted a stiffer sail but maybe a slightly smaller. (I got caught in a few squalls and wanted to see how small I could go and still move well). It was fabulous in low wind and I really liked the way it looked.
My second sail was a white polytarp cut shorter and almost 6 inches narrower as the nylon sail. It measures about 48 sq feet. It gave me a perfect sailing day at 12 knots. Hull speed was quickly gained and maintained easily and it spilled gusts of 18 knots without any argument. Did not point very well though. Also in wind less than 4 knots it was simply not enough. Photo shows the sail when I first put it on and before I adjusted the fit. It actually had a reasonably nice shape while underway. In photo I need to tighten snotter but when I did all the wrinkles were gone. This sail tends to twist more than the nylon sail.
The third sail is an orange polytarp about 62 square feet. This one points better and has much better power at 5 or so knots. It is completely happy at 8 knots (that's all the wind I had while testing it.) I still have to tweak it so that it stops luffing on the edge in gusts. It is higher and longer at the foot but the edge attached to the mast is shorter than the original plan. I added a series of grommets about a foot from the base where I can take it in if it is too windy. I think I will try to move the snotter attachment so that I can tighten the edge better, to be determined...
Here are a few photos of my sail making crew working on the new sail.
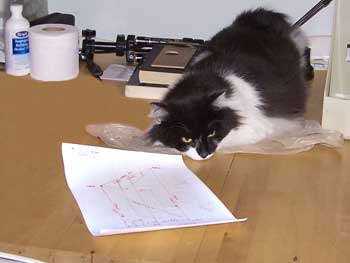
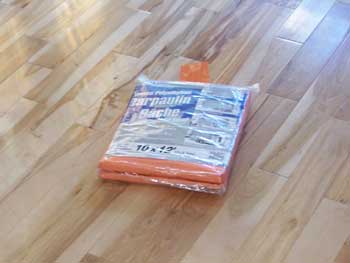
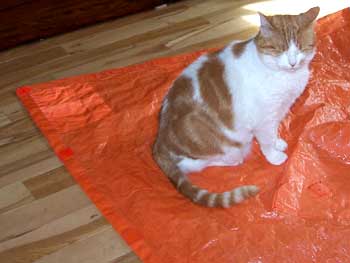
Winston is checking out the sail plan. It has added shape in the form of curved bottom and top. A maximum of about 1 inch bulge located slightly nearer to the mast than the outside edge. Also the point is higher hopefully to catch the breeze sooner.
I got an orange polytarp at Canadian Tire. It's garish orange but I actually like to have a bright sail.
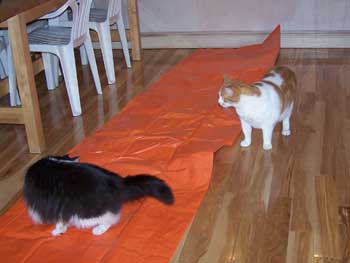

The guys get to work unfolding the tarp and measuring it. It was smaller than the stated measurements. Next time I will allow an extra foot for "real" dimensions. There is nothing the cats enjoy more than sailmaking with a crinkly polytarp.
The living room is too narrow to accommodate the tarp fully unfolded. Luckily that part gets trimmed off and used for reinforcements and binding.
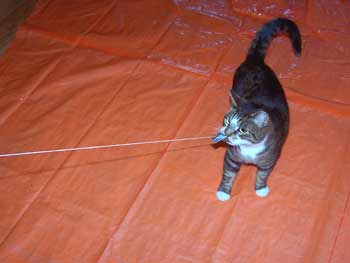
I have cut off the original edges with the factory grommets and binding. They are simply not strong enough. The edges of the tarp will be taped to the floor so there are no folds so I can mark accurately. The cats move everything around quite a lot and taping saves aggravation---mostly.
To locate the corners of the sail I trim one side cleanly and place a mark on one end to be my first good side and corner then measure exactly the right distance and place another mark for my second corner. Then I use a tape measure and draw large arcs from the reference corners. Where the 2 arcs intersect I mark with my dry erasable marker.
I have calculated the length of all the sides and the diagonals so all I have to do is transfer these measurements to the tarp. If there is enough material I make a wider seam so I can just fold it over a couple of times, otherwise I cut a binding strip from the extra material. I cut the strip on the same angle as the sail so it will stretch the same way.
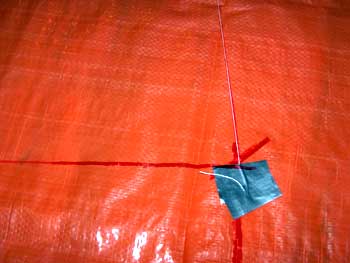
Polytarp get marked with dry erasable pens. When I'm finished with the marks, or if I make a mistake, I can just rub then out. I have some string with duct tape tabs. I just mark along the line. It would be helpful to have helpers that can read and use a tape measure, it would save quite a lot of going to and fro.
Once all the marks were made I added the extra bulge at the foot and top of the sail to add some shape. I had to be really careful when I removed the tape. It stuck to the orange covering and tended to take it off. This tarp is supposed to have extra ultra-violet protection. I don't think it is very thick. Once I have a good idea of the kind of sail I want I will make it or have it made out of good stuff.
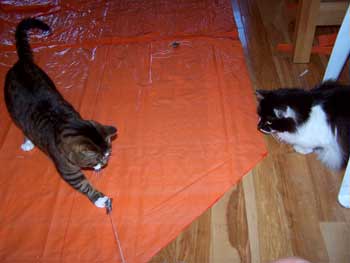
The polytarp gets cut carefully, following the lines I made. I would have been nice to just be able to roll the edge a couple of times and sew it down but the tarp was not large enough. At this point I cut out the corner reinforcements. They get cut with the fabric lined up in the same grain as the sail. I made at least 4 patches for each corner each slightly smaller. I stuck patches together with double edge tape I got from the dollar store. Saves some trouble and keeps things in place until I sew them.
I try to use tape where I am not going to sew because the tape gums up the sewing needle. I attach the patches on one corner then go sew them. I then proceed to the next corner.
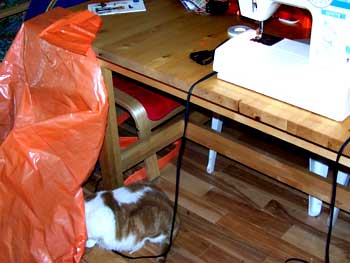
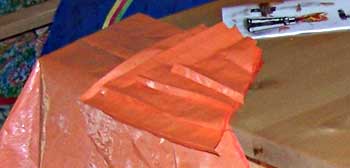
Corner patches ready to be sewed down.
I turn down the edges and crease it with my fingernail. Then I sew each patch on the sail. I use a zig zag stich that consists of 3 straight stitches per zig. I also sewed reinforcements where my sail gets tied for reducing the area. Corners were rounded and over-stiched.
All the patches have been sewn securely on. The edges have either been turned under and sewn or else bound with a strip of polytarp. I have added little patches where the grommets are planned. The tarp by itself is a too thin for the grommets to bite in and hold. The extra thickness of the little patches works really well.
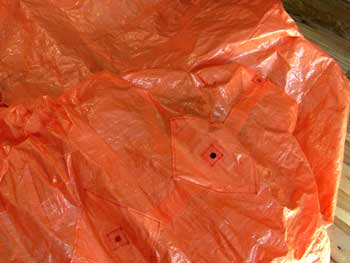
I used a soldering iron to melt holes for the grommets. It has the advantage or melting the edges together and there is no unravelling. It is also very fast.
These patches and band reinforce the area where I can reduce the sail if there is too much wind. As soon as the hole is melted I insert the grommet and the tarp material hardens and shrinks around the grommet. I did each side of the sail then went to the front steps and inserted the back washer and bashed the grommet in. The front steps are concrete and work very well.
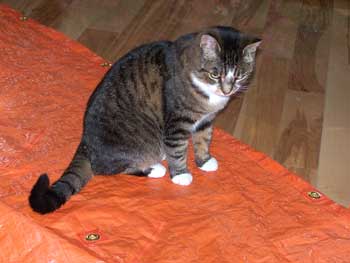
At this point the sail is complete. I checked it for any obvious mistakes and cut any loose threads. I had forgotten to put a back washer on one of the grommets so I had to cut it out, repair the hole and regrommet it.

Tired after a long days work! My assistants take a well deserved nap
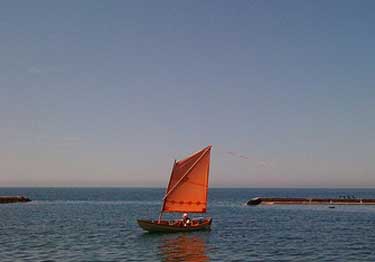
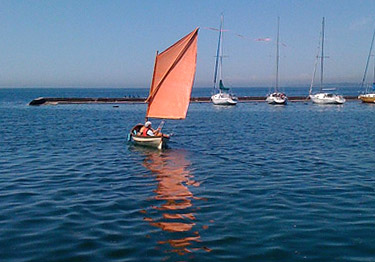
After tying a piece of wood to the boom to make it long enough I attached the new polysail and went out. The sail edge luffs slightly in gusts and I will need to either stretch this better with the snotter, or maybe modify the shape or rope the edge. To be determined...
Sail sets not too badly in low wind. It is also quite nice to handle and doesn't twist as much as the white sail. I'm not experienced enough to understand why. If you know send me an email.

Here is the sail after some fiddling in the riggings. You can see the piece of wood I added to the boom to make it longer. I also added a small block to tighten the snotter more easily, not so much friction when I pull on the line. This sail points higher and has a wider foot, but the mast side is not as long as the original one. This is all in aid of trying to balance the sail. I think this is a great success and the sail works quite well.
Update on Orange Sail
Year 1: This sail has now been out about 20 times. So far it is the most successful sail I have tried.
It doesn't points as well as I had hoped although it is better than either of the 2 other sails. It started out pointing better but luffing on the edge. I hollowed out the edge but lost some pointing ability.
I made a new boom that fitted the sail and took off the little extra piece of wood I had added to the old boom. This helped me lace the sail better and get it looking nice and tidy before going out. I simplified the lacing and tidied up the snotter attachment where I added a little block to make it easier to adjust. I'm hoping to send the snotter to the back where I can tighten or loosen it from where I sit behind the middle seat.
The new sail is much better than the previous ones in low wind. It is about 6-7 feet larger than the nylon sail and this means that it moves better in very low wind conditions. In fact my little Skerry was smoking the big boats in low wind!! Go Cricket!
As the wind increased my little boat behaved very well and moved well. The new sail was better on every points of sail. In gusts it lifts and depowers safely. It has much less twist than the other 2 sails.
As the wind increases the outer 6 inches were luffing quite a lot, so I took the sail off, cut a hollow in the outside edge of about 3 inches at the most, and sewed in a rope inside the seam. These 2 things fixed the luffing and improved the performance except the pointing, this was reduced. This sail has some shaping. There is a slight bulge top and bottom and a hollow on the outside edge. I can see that the sail takes on an airfoil shape much better than the other 2. My little boat now moves well and compares very well to bigger boats on some points particularly with the wind behind me. I'm faster than many longer hulls with much more sail.
I'm finding that it is making the mast/sprit/boom bend more than the other 2 sails and I don't think that I can increase the size of the sail anymore without stronger spars and mast.
I tried to take it out in high wind and it was simply too unmanageable for me. I de-masted and rowed!
When there is a lot of wind this boat has some trouble tacking because it is so light. The wind is more powerful than the speed/inertia. I have to gybe. With 2 people it is better.
This orange sail is the best one so far. It is a good size, points much better, is comfortable and safe. It brings the boat to hull speed and is easy to control. At this point I will experiment with bringing controls to the back where I sit.
Still ...
I wonder how a Chinese junk rig would work? ...
UPDATE, I made a new sail made of Dacron based on orange polytarp.
I made a new sail based on the orange polytarp sail and it is very nice. I cut down and modified a kit I had bought from Sailrite for a balanced lug. In the end I did not like the lug. I also added a jib and this improves it even more.
Read about other components being constructed
Links to the [hull part 1] [hull part 2] [birdsmouth mast] [rudder and centreboard] [sails] [oars] [cleats] [daggerboard well and mast step] [it floats!] [I'm sailing now!]
emails: Christine
This web site reflects my personal ideas and doesn't represent anyone else's point of view.